
Products:
News Updater
- Download
- Register
- Updates
- Documentation:
-- Dev. Tutorial
-- Dev. Example
-- User Manual
Freeware:
DirToTxt
Press the "Add news article" button.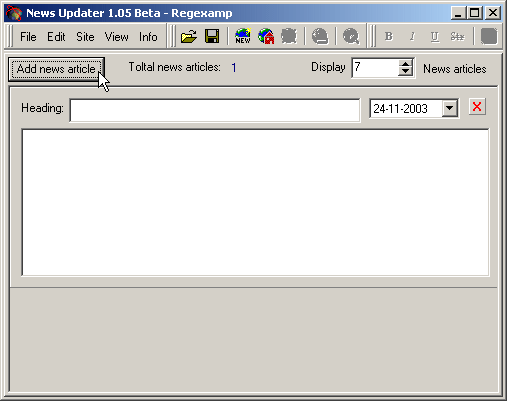
An empty article will appear at the top of the list. Simply fill in a header for your article and type in the body text. The date will be automatically set to the current date.
Press the ![]() button. The default browser should start up with a preview of the News page including the new article.
button. The default browser should start up with a preview of the News page including the new article.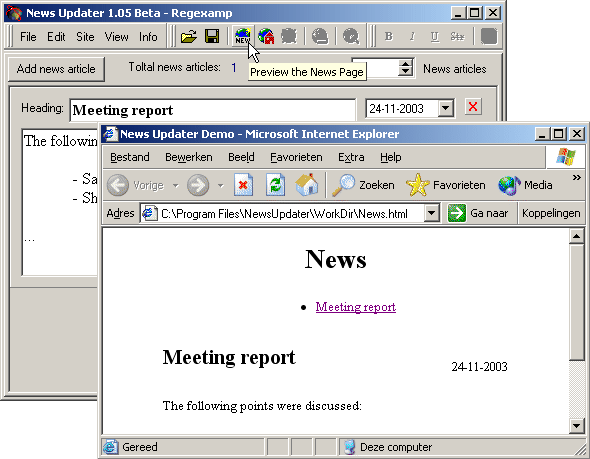
Note that your page will most likely look different to this screenshot.
If no browser starts, please check your taskbar if there was not already one open. If so, the preview might be shown there.
We have tried to make the preview compatable with all widely used browsers. Unfortunately not all browsers act the same way. In the following cases you might need to alter settings:
In these cases try the following: go to the menu "View" and switch the "Alternative Browser Start" option on.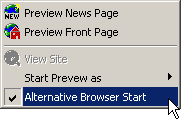
If the date is updated on another page, you may preview it by clicking on the ![]() "Front Page" button.
"Front Page" button.
Every article has a small red X at the top right corner (to the right of the date). Clicking on this will delete the article![]()
A confirmation dialog box will appear. Please note that deleting an article can not be undone. Press the "Yes" button to proceed or the "cancel" button to cancel.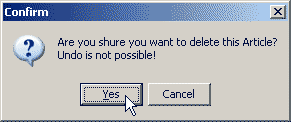
To suppress the Dialog box, hold the "shift" or "Ctrl" key down while clicking on the X.
You might not want to delete old articles but save them for reference purposes, while not showing them on the site. This is possible by using the spinbuttons or editing the number manually in the Display Articles SpinEdit control. Articles that are not displayed will be greyed out and can no longer be edited.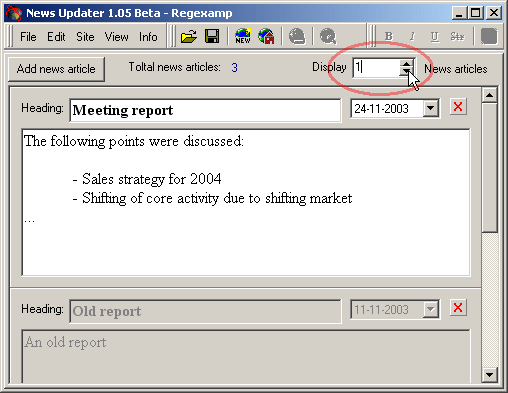
Press the ![]() "Upload" button to start transfer of the files to your site. If the "Upload" button is disabled, changes were made to the file without first generating a preview. In that case first press the
"Upload" button to start transfer of the files to your site. If the "Upload" button is disabled, changes were made to the file without first generating a preview. In that case first press the ![]() "Preview" button before pressing the
"Preview" button before pressing the ![]() "Upload" button. The reason for this is that the files which are uploaded to the site, are generated while the preview is generated.
"Upload" button. The reason for this is that the files which are uploaded to the site, are generated while the preview is generated.
After pressing the "Upload" button the following window will appear: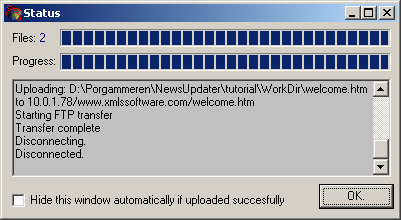
After uploadoing the files, click "OK" to close the window (or check the checkbox "Hide this window automatically if uploaded succesfully" so it will automatically close next time).
If an error occures it might be handy to copy the text in the progress box, and send it to your site developer who can figure out what went wrong.
After uploading you can press the ![]() "View Website" button for quick access to check your online website.
"View Website" button for quick access to check your online website.
Text decoration can be used in the body of any Article. If your cursor is blinking inside the body of any article, the text decoration buttons will be enabled.![]()
To apply any effect to your text, select it and press the corresponding button. Please note when using colors that it might look good in the editor, but may be unreadable or cause ugly color clashes on your site. When choosing a color, make sure it will comply with the background of your page. Also note that links might be displayed with the colors and decoration set by the site developer or the viewers browser.
Links and E-mail addresses will be detected automatically during the preview generation. Note that if a link to a website does not start with "www." you will have to put the "http://" before it or else it will not be detected.
Please refer to your Windows documentation for more information on text decoration.
If your page was designed with support of images, you can add an image by clicking on the checkbox "Add an Image" A file-open dialog box will appear from which you may select an image file.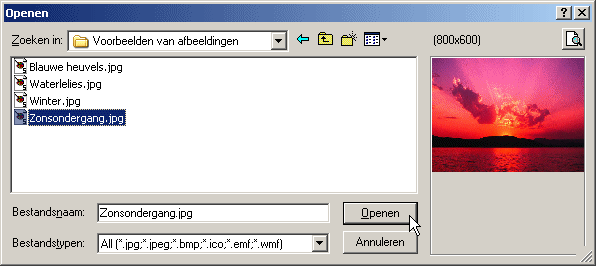
Note: This might look different on your computer. The screenshot was taken from Windows XP (Dutch).
The following files are supported:
If the image is too large it will automatically be resized to the maximum specified by your webmaster (preserving the aspect ratio). The image will also automatically be converted to the JPEG file format if it is not a JPEG file. You might want to resize and convert the image manually in a paint program before importing into News Updater for better results.
For a preview of the image in the size it will be published, doubleclick on the thumbnail image. Doubleclick again to close the preview.
After adding an image, you might want to change its "ALT" text. This is the text that appears in browsers that do not support images or in the hint that appears when hovering over an image in Internet Explorer.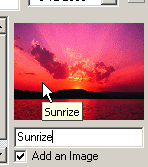
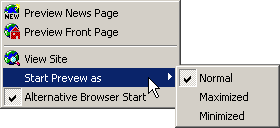
In the View menu there is an option called "Start Preview as". This can be set to 3 states (Normal, Maximized or Minimized). Changing these settings determines how your browser will start when doing a preview. Note that many browsers will ignore these commands. For example, if the browser "Internet Explorer" was maximized the last time it was closed, it will stubbonly "remember" its previous state and ignore this setting. However if it was not maximized, it will start up according to the setting you choose in this menu.